I have outlined the process below for Mac OS X 10.8 VM Configuration in VMware Fusion 4.x and 5.x.
1. Download Mac OS X 10.8 (Mountain Lion) from the Mac App Store. The direct link is http://itunes.apple.com/us/app/os-x-mountain-lion/id537386512?mt=12which has a purchase price of $19.99.
2. The Mac OS X 10.8 (Mountain Lion) image will be downloaded directly into the Applications folder. Be sure to make a copy of this 4 + GB file before performing any upgrades to your local Apple device. The installation scripts clean/delete the installation package after the upgrade from 10.7 to 10.8 is completed.
3. Right click the Install OS X Mountain Lion package and select Show Package Contents.

4. Once within the Package Content directory structure, go to InstallESD.dmg under the SharedSupport folder.

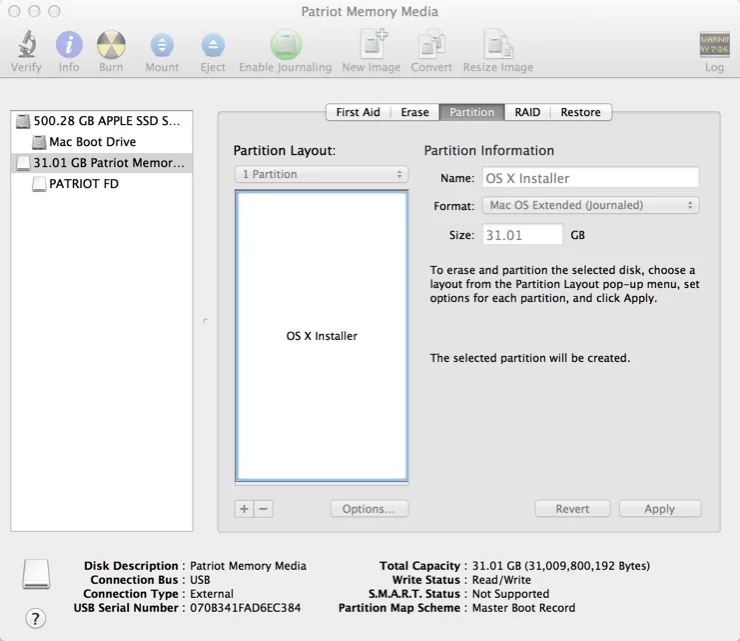
5. On your local Apple device, go to Applications, Utilities and then open Disk Utility.
6. Drag InstallESD.dmg from step 4 into Disk Utility.
7. Select the Convert icon from the top of the Disk Utility screen.

8. Name the file that you are creating with a .cdr extension. The .cdr extension will later be changed to a .iso extension.
9. Select DVD/CD Master as the Image Format and None as the Encryption Type. Next, select Save.

10. The .cdr image will now start the creation process.

11. The 4.75 GB .cdr image has been successfully created.

12. Select the .cdr image and change the extension to .iso.

13. Start VMware Fusion 4.x/5.x and and select File and New.
14. Select Continue without Disc.
15. Select Create a Custom Virtual Machine and then select the Continue button.
16. Select Apple Mac OS X for the Operating System and Mac OS X 10.7 64-bit for the Version.
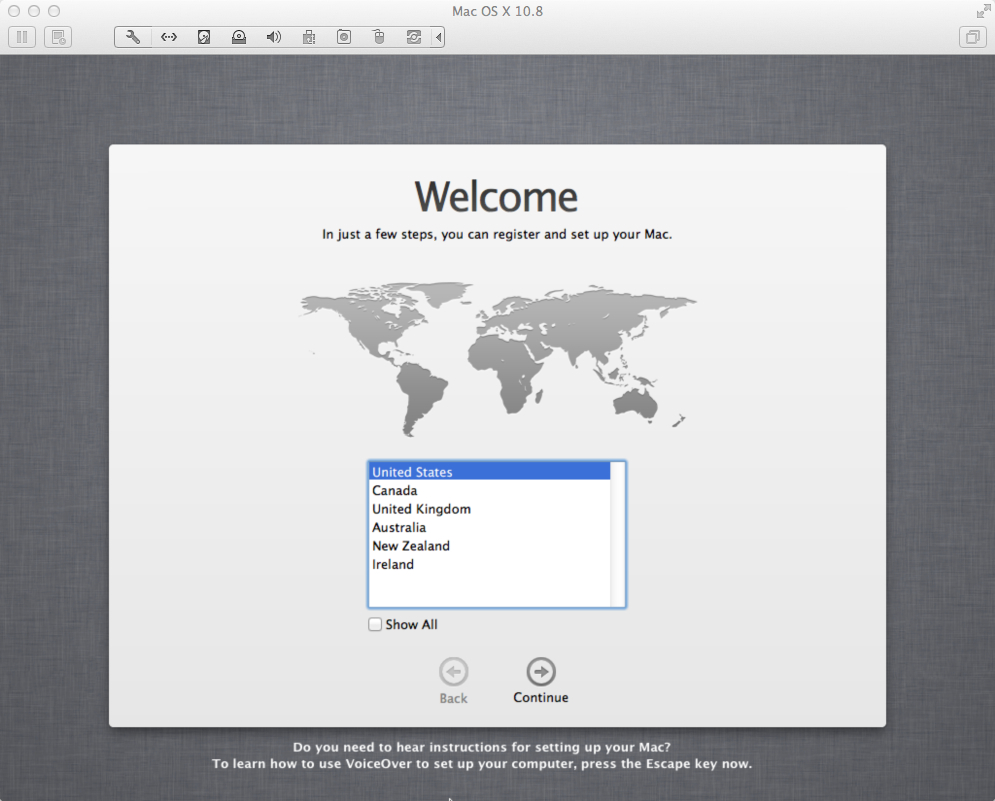
17. The Mac OS X 10.8 installation screen will now appear to install Mac OS X 10.8 just as you would on a physical machine.
18. Go through the Mac OS X post installation process to complete the final configuration.
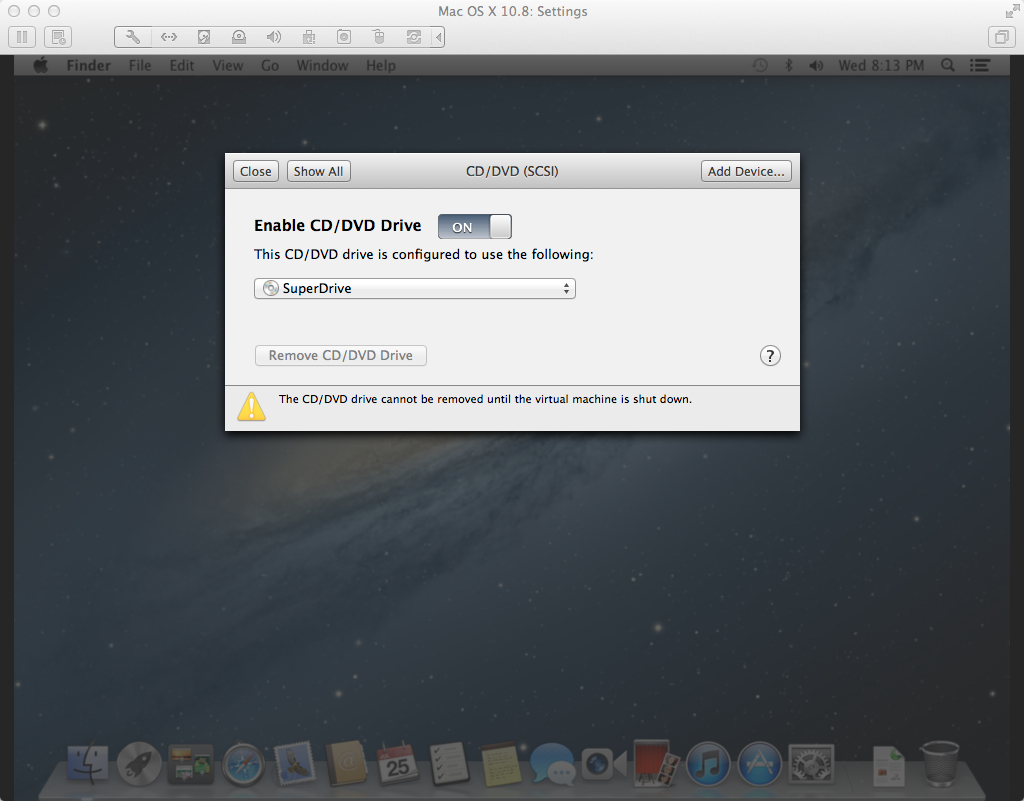
19. Go into the Virtual Machine Settings and change the CD/DVD (SCSI) setting from the Mac OS X iso used to the SuperDrive. Note: I have had to toggle the Enable CD/DVD Drive button from off to on to get the iso to release.
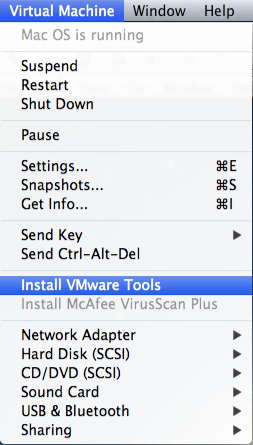
20. Go to Virtual Machine from the top menu and select Install VMware Tools.
21. Select Install from the VMware Tools dialog.

22. Select Install VMware Tools to proceed forward with the VMware Tools for Mac OS X 10.8 installation.

23. The Mac OS X 10.8 Virtual Machine is now fully configured for use within VMware Fusion 4.x/5.x.